
Banco Internacional EC ID lets you configure external Identity Providers in your subscription so your users are able to sign up and login with an account that they already have. The following Identity Providers are supported:
You can configure Identity Providers by accessing the External Providers tab in you subscription's page as shown below:
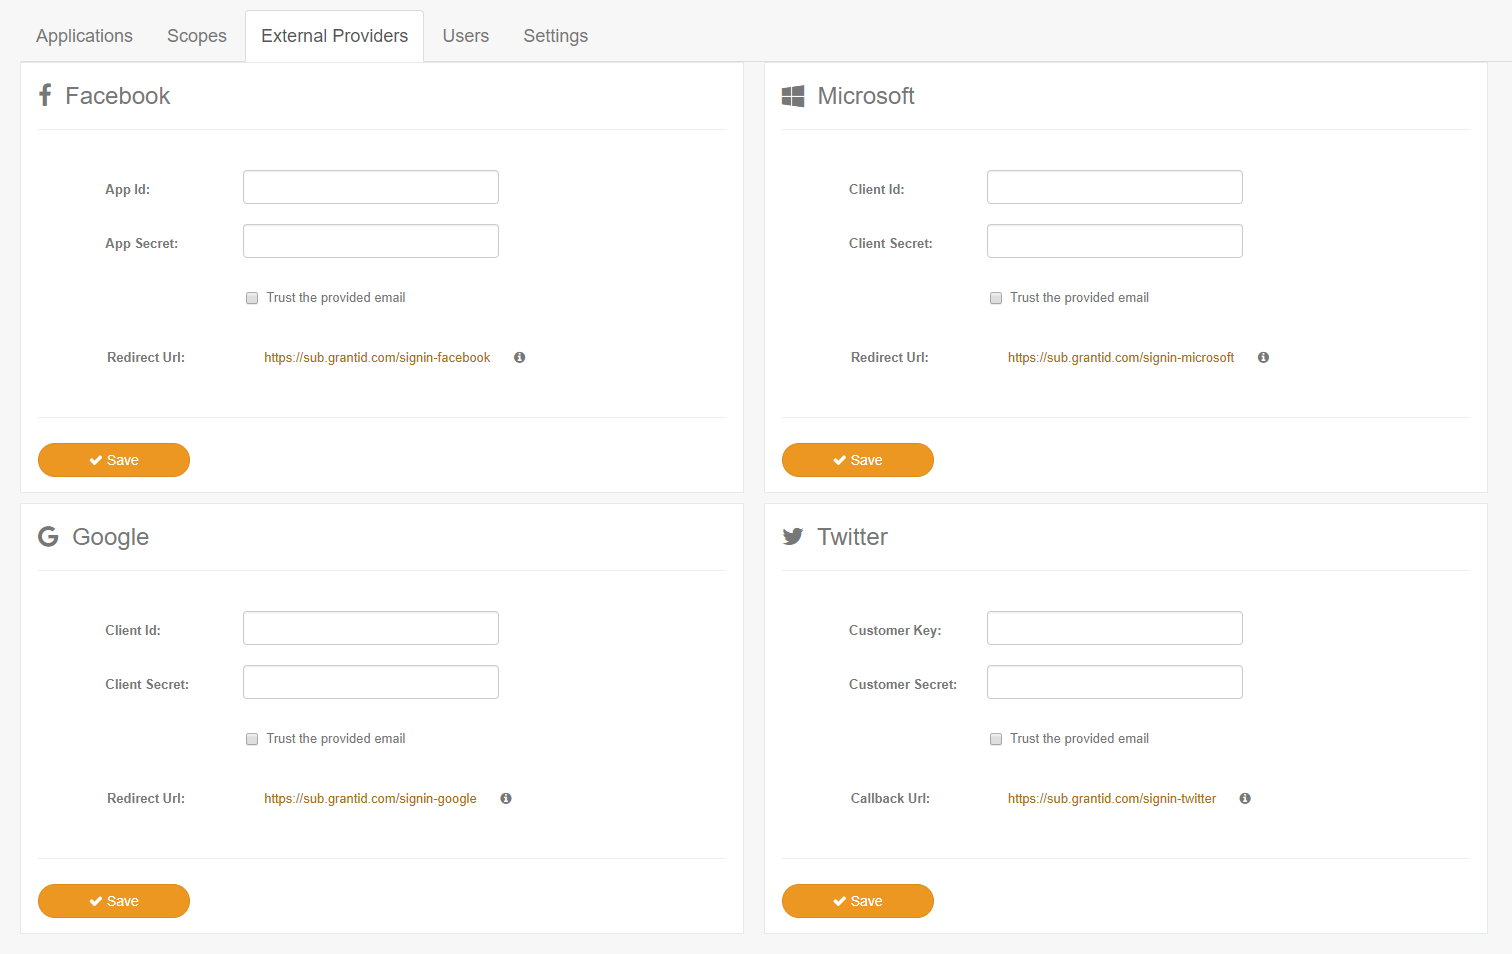
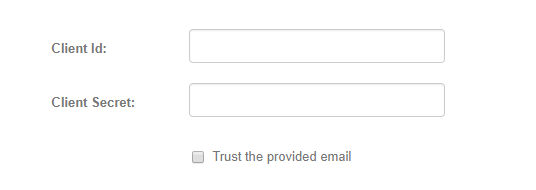
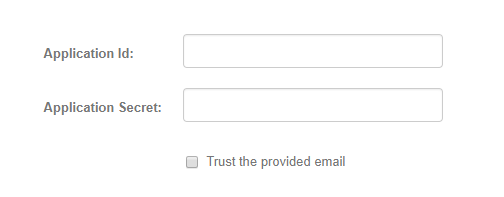
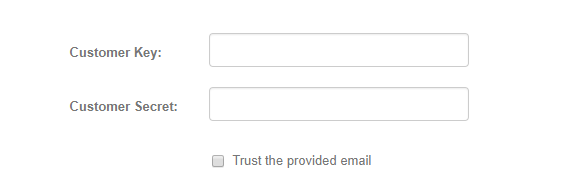
For each provider you may determine if you want to trust the provided email or not. If this option is selected, Banco Internacional EC ID will not request an email confirmation when registering a new user through that provider.
In the Identity Provider Guides section you'll find all the steps to obtain the Id and Secret parameters for each provider.
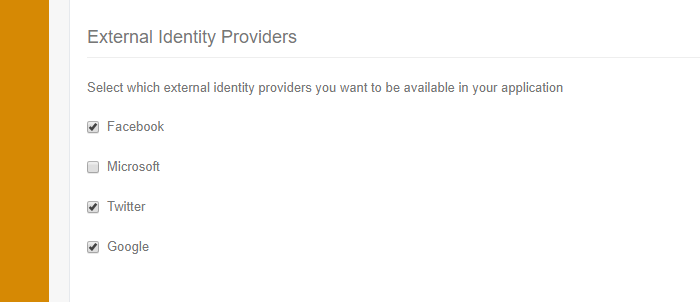
After a provider is configured, it will be available in your Application's Settings, where you can select which Identity Providers you want to enable for a specific application:
Go to Facebook for Developers page and tap the Sign In button:

Sign in with your Facebook account or create new one.
You will be redirected to the page below. Select the Create App button:

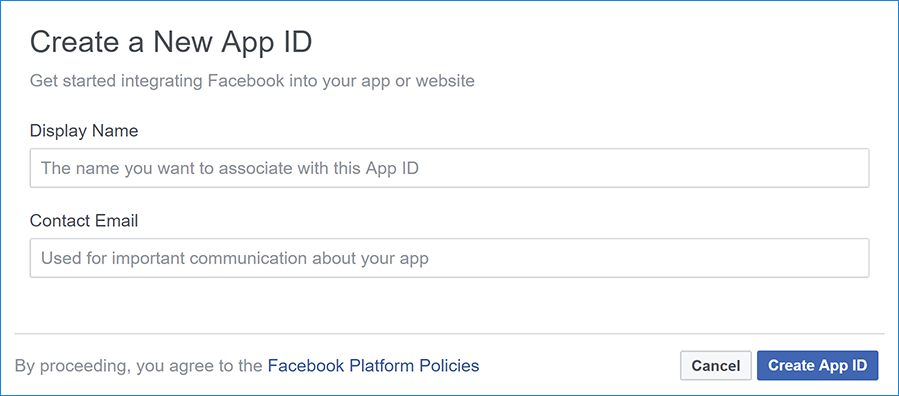
You will be presented with the form below, fill it with your information and select Create App ID.
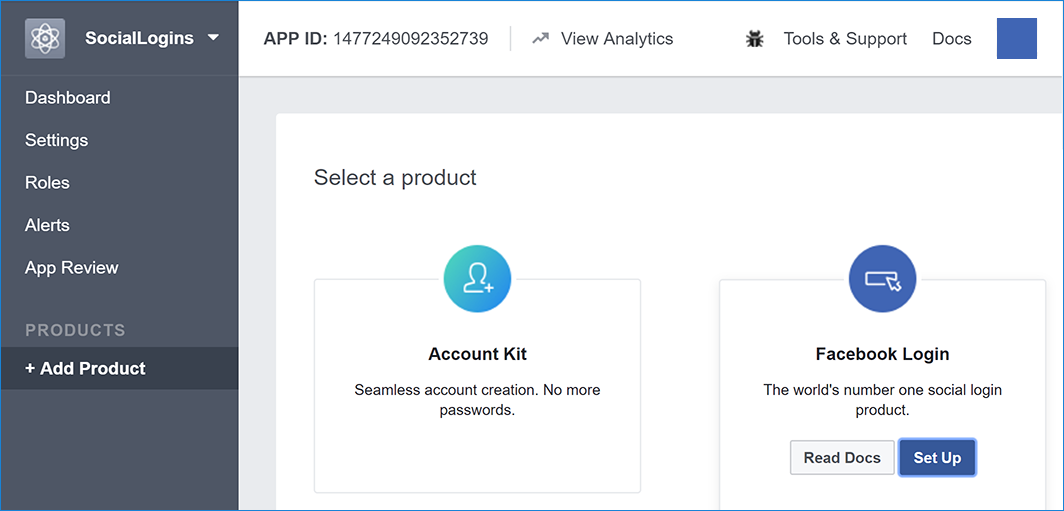
Next, you will be redirected to the Select a Product screen. Select the Set Up button in the Facebook Login panel:
Bypass the Quickstart by selecting Settings in the Facebook Login section located in the menu on the left.

Now you should be able to view Client OAuth Settings:
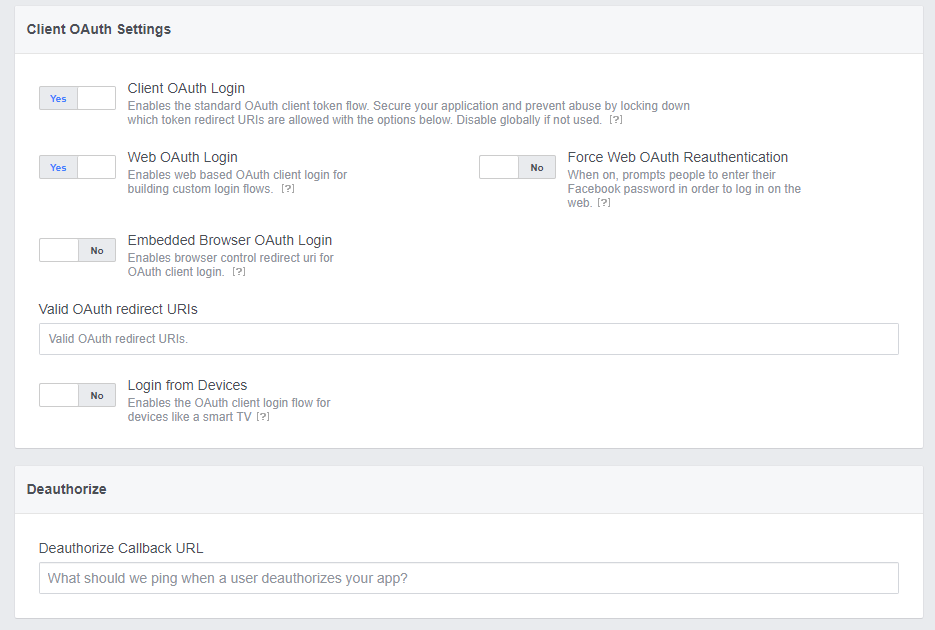
Fill the Valid OAuth redirect URIs with the Redirect URI provided by Banco Internacional EC ID External Provider's page, available in the Facebook panel, and select Save Changes.
Select the Dashboard option to view your Facebook App ID and Secret:

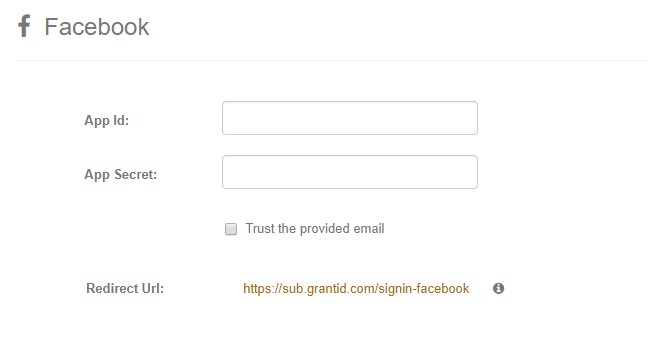
Copy the Id and Secret to the Banco Internacional EC ID's Facebook panel in the External Providers tab:
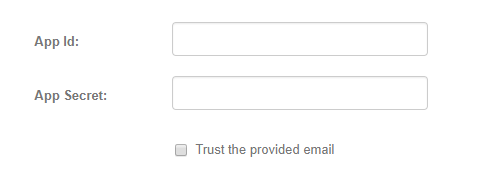
Finally, select the Save button and you're all set with Facebook.
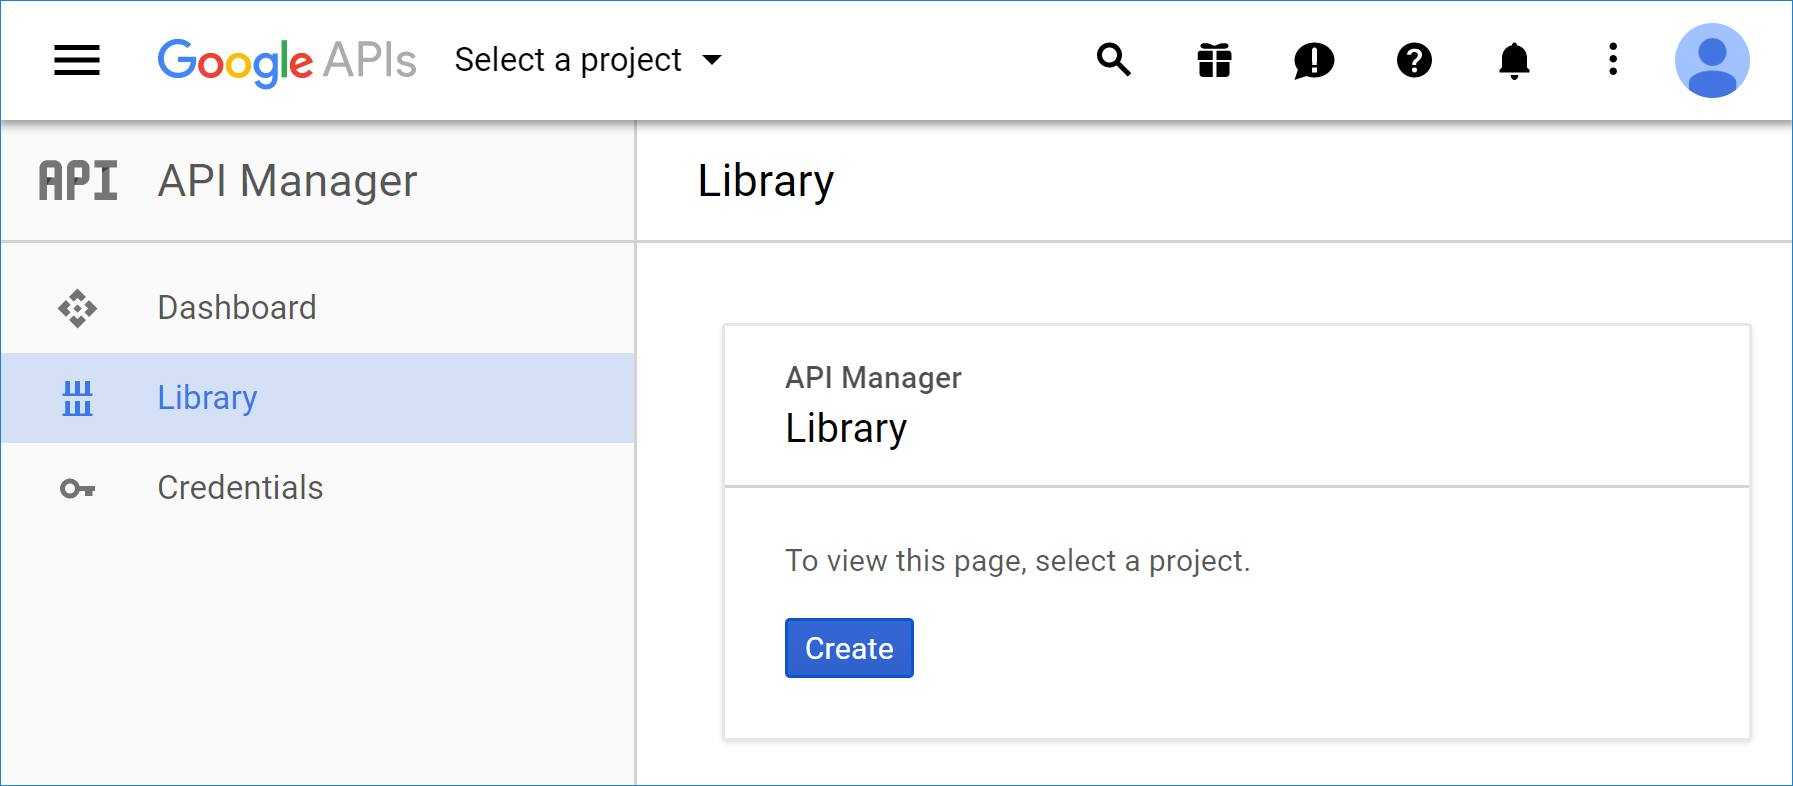
Go to your Google Cloud Plaform library and select the Create button (you may need to log in first):
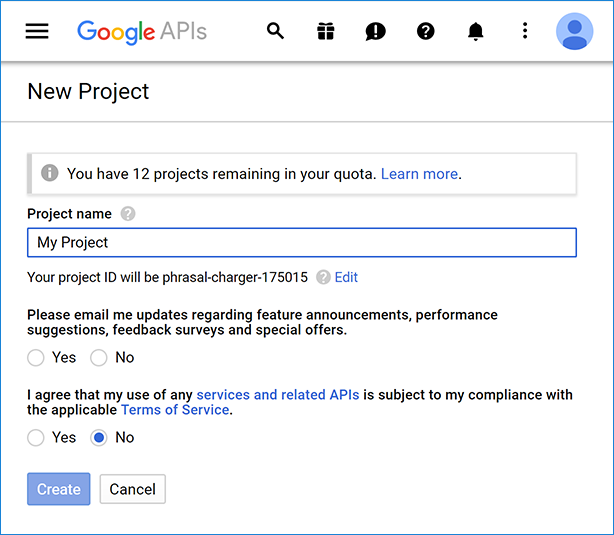
Enter your project name and press the Create button:
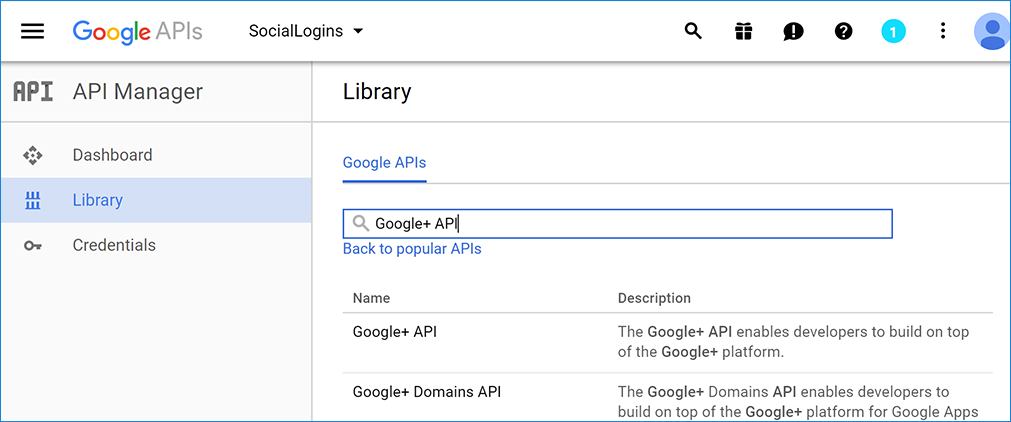
You will return to the Library screen, but now you'll be able to choose features of your Google app. Search and select the Google+ API item:
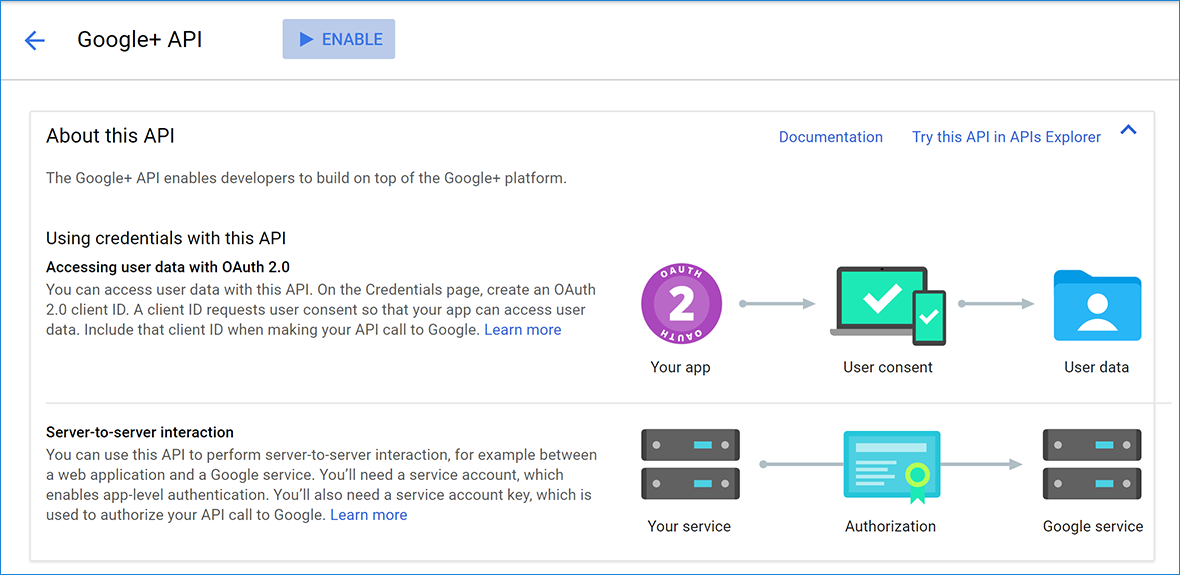
In the Google+ API screen, press Enable:
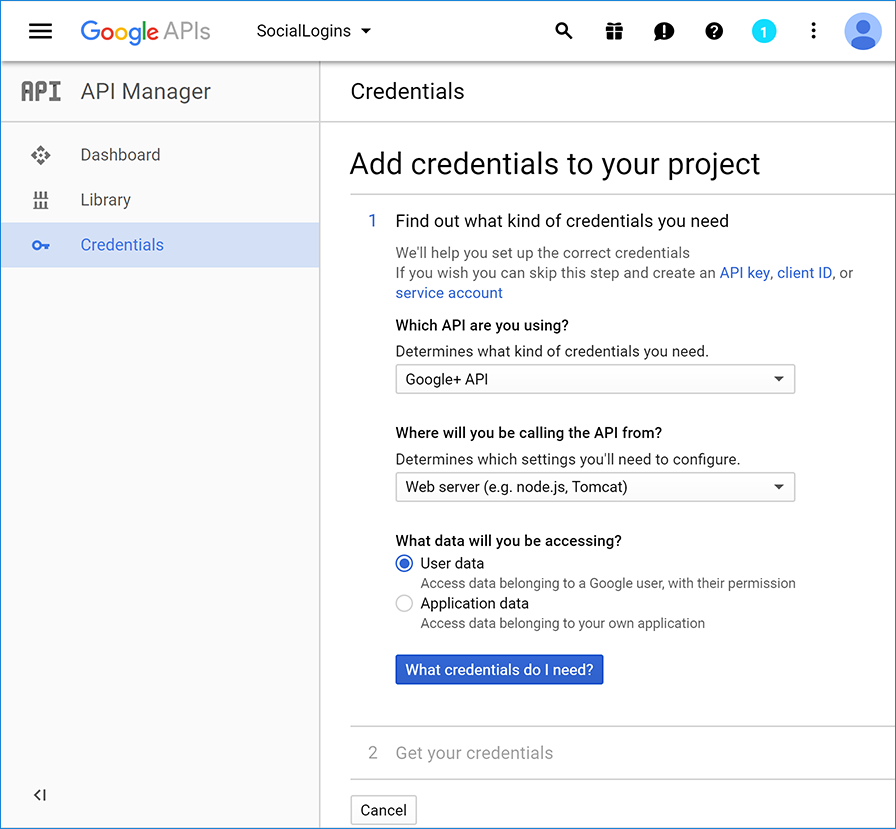
After the API has been enabled, a message will be displayed informing that you need to create credentials to get started. Select the Create Credentials button:

Configure the presented screen as shown below and select the What credentials do I need? button:
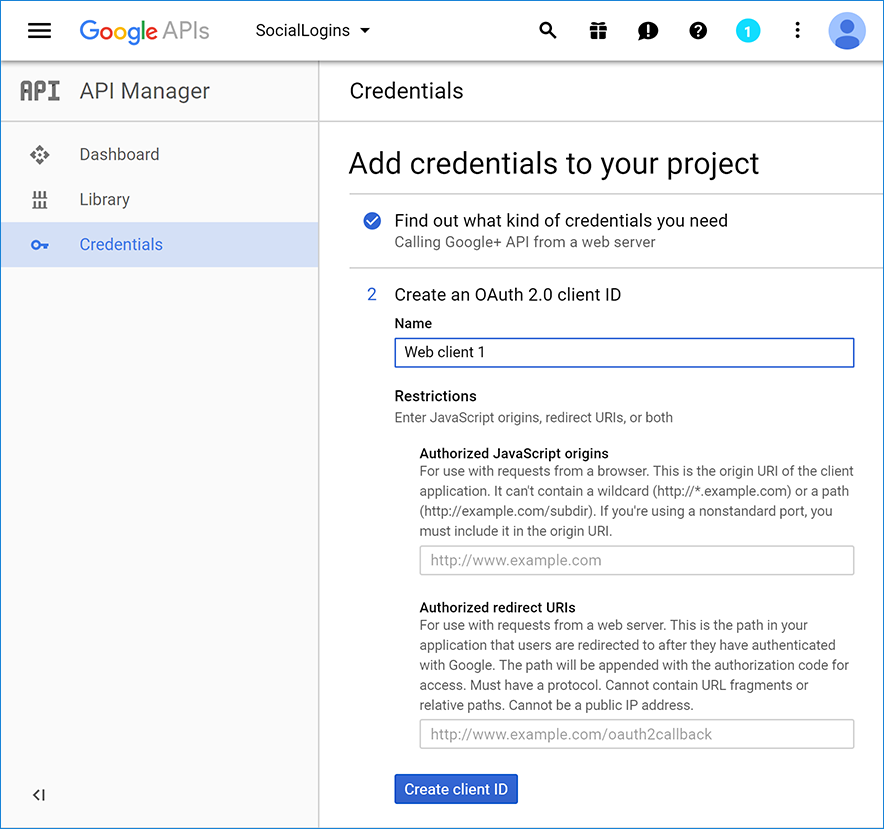
In the next screen, enter your client name. In the Authorized redirect URIs field, enter the Redirect URI available in the Google panel of the Banco Internacional EC ID External Provider's page. After filling those fields, select the Create client ID button:
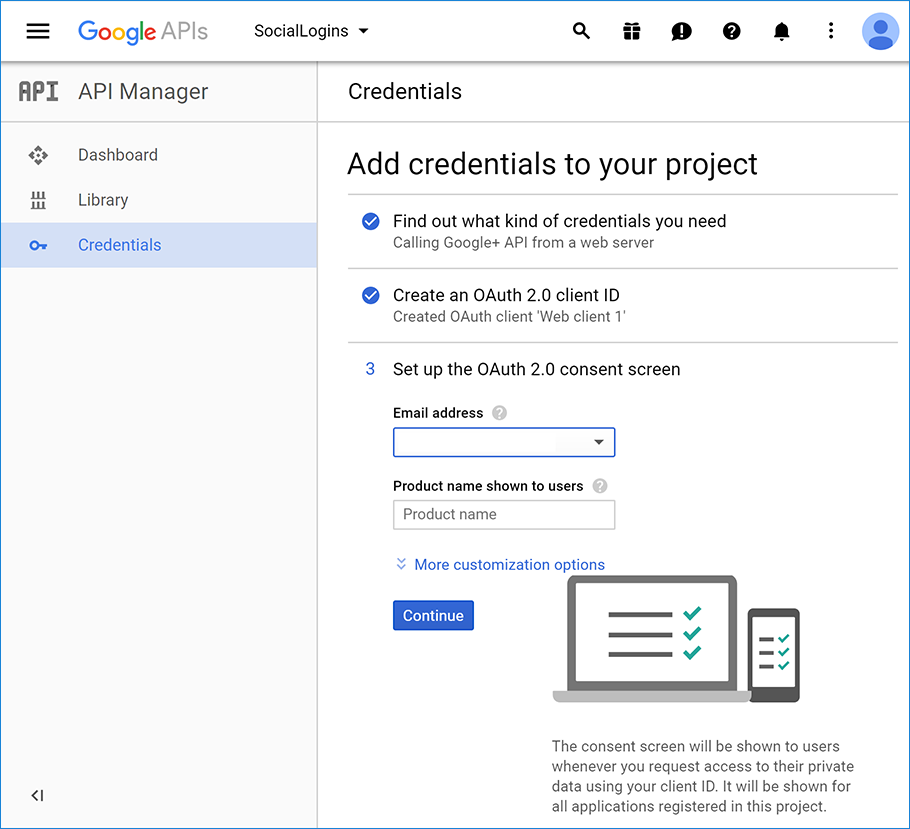
Now, you'll be asked to configure the Google consent screen. Fill the fields with your information and select Continue:
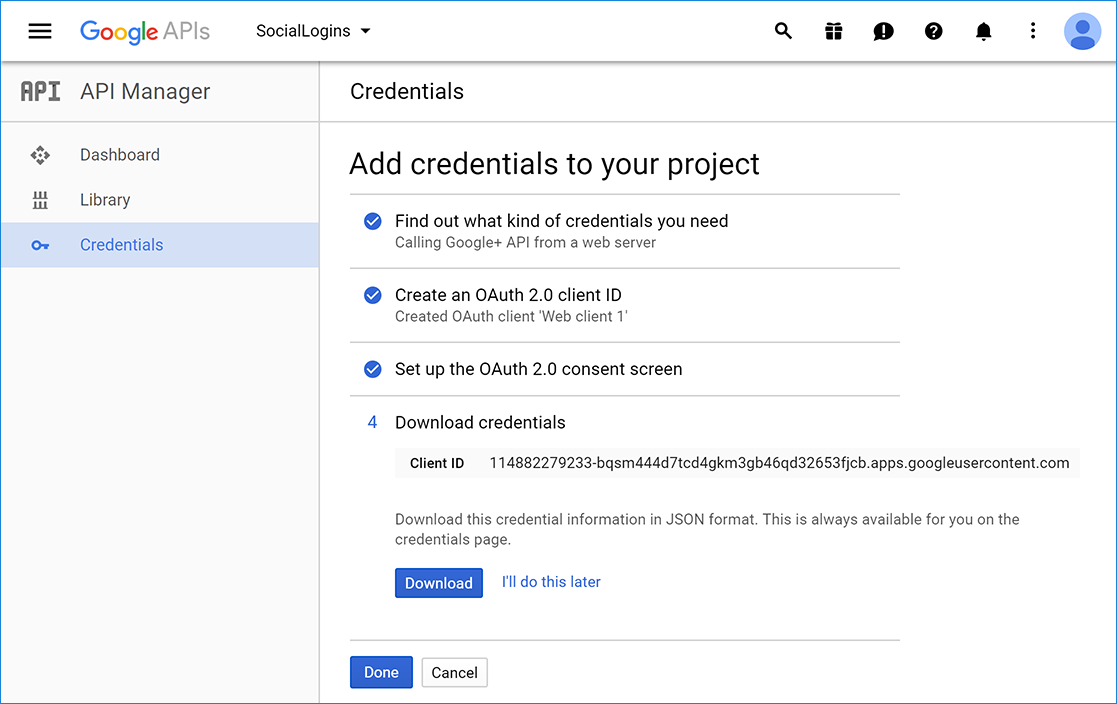
You've successfully generated your new Google credentials and will be redirected to the screen below. You don't need to download the credentials, so select Done:
In the screen you'll be redirected to, select the app you've just created:
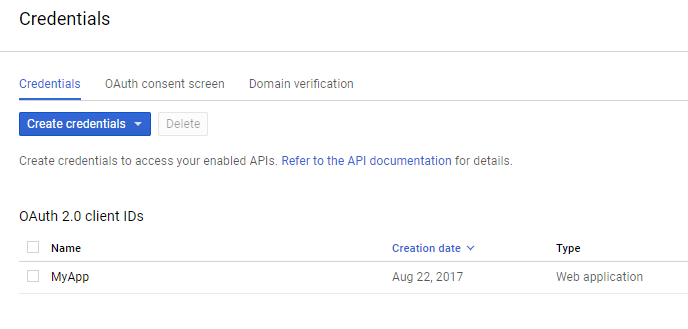
You'll be presented with the screen below, where you can view the information needed to configure your Banco Internacional EC ID subscription

Fill the fields in the Google panel present in your Banco Internacional EC ID's subscription External Providers tab:
Finally, select the Save button and you're all set with Google.
Go to the Application Registration Portal, log in with your account and you'll be redirected to the page below:
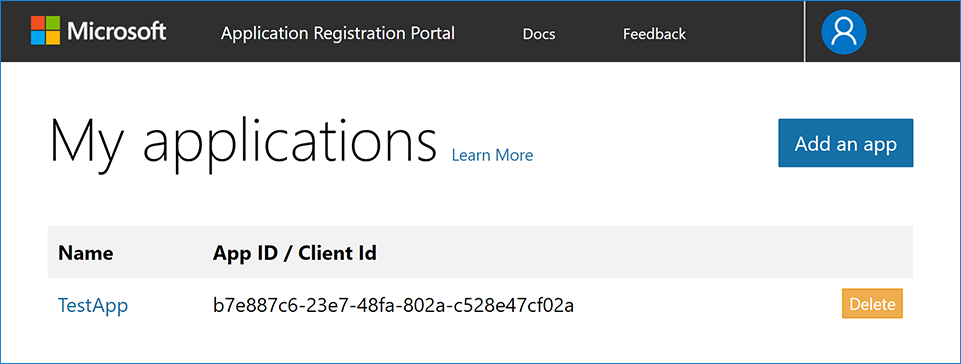
Select the Add an app button. In the next screen, fill the form with your informations. There's no need to check the Guided Setup checkbox. Then, select the Create button:

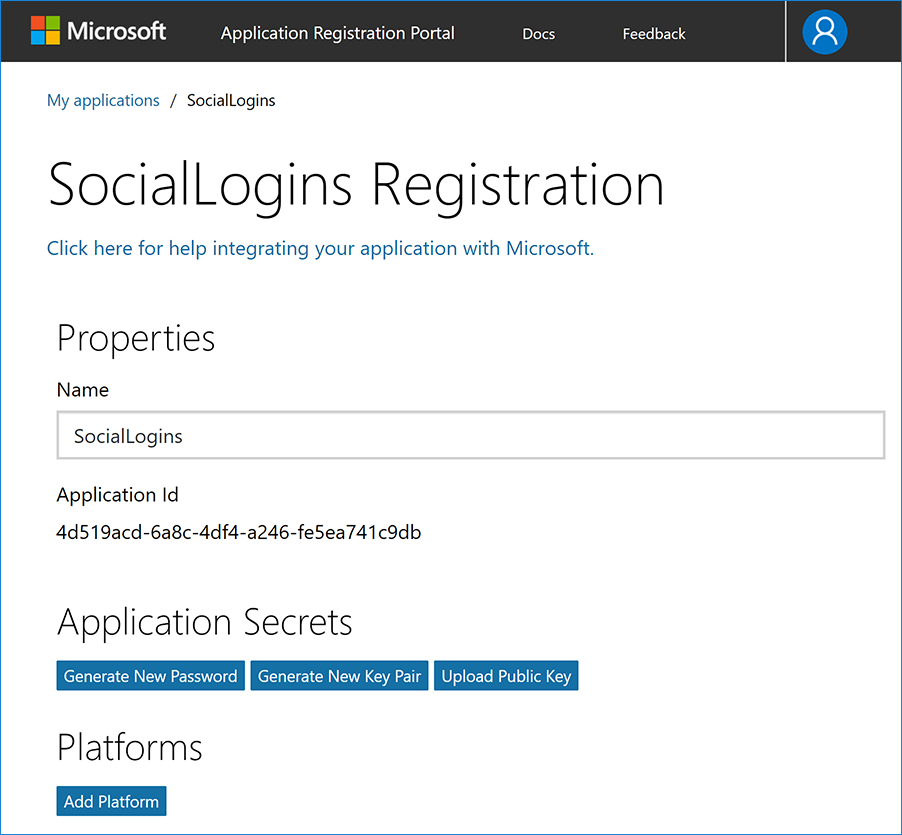
In the Platforms section select the Add Platform button:
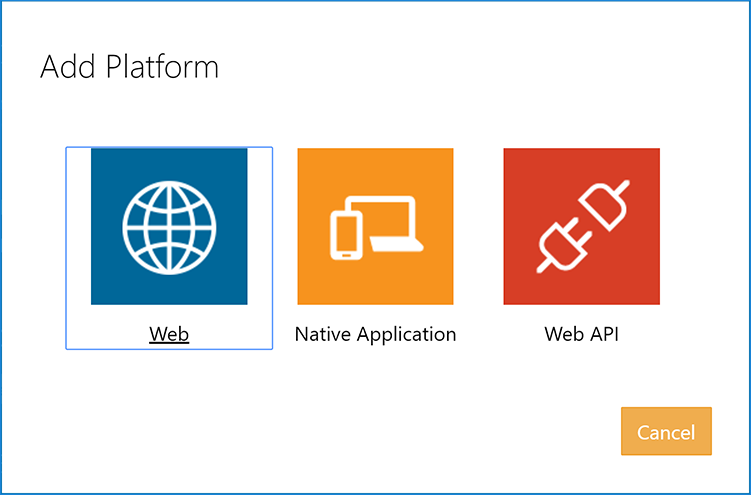
Select the Web platform option:
A new panel named Web will be created under the Platforms section. The Redirect URL is available in the Microsoft panel of the Banco Internacional EC ID External Provider's page.
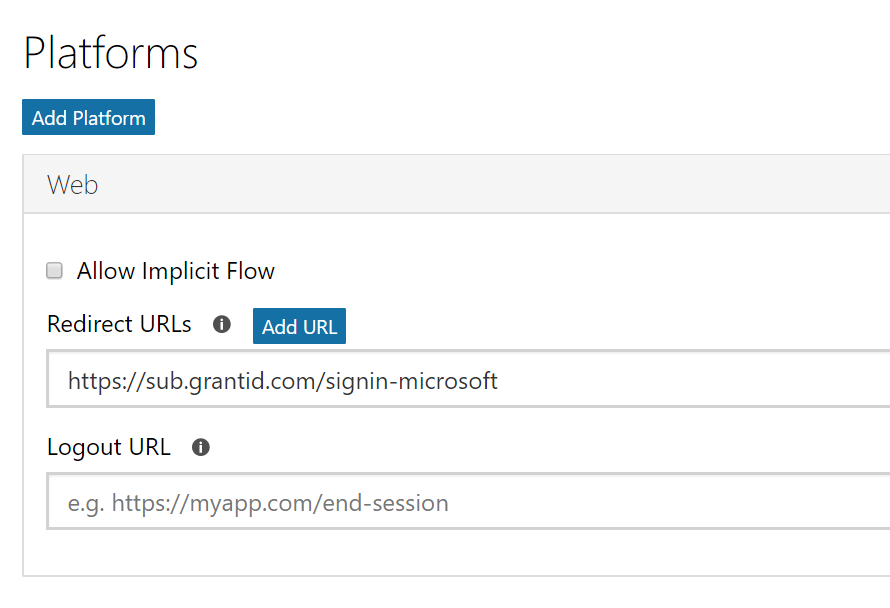
In the Application Secrets section, select the Generate New Password button:
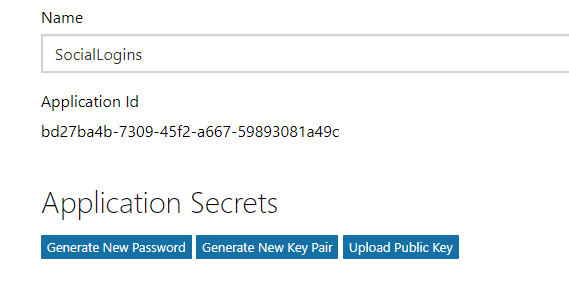
A dialog will be displayed with the generated secret. Take note of it and select Ok:

Finally, select the Save button and you're all set with Microsoft.
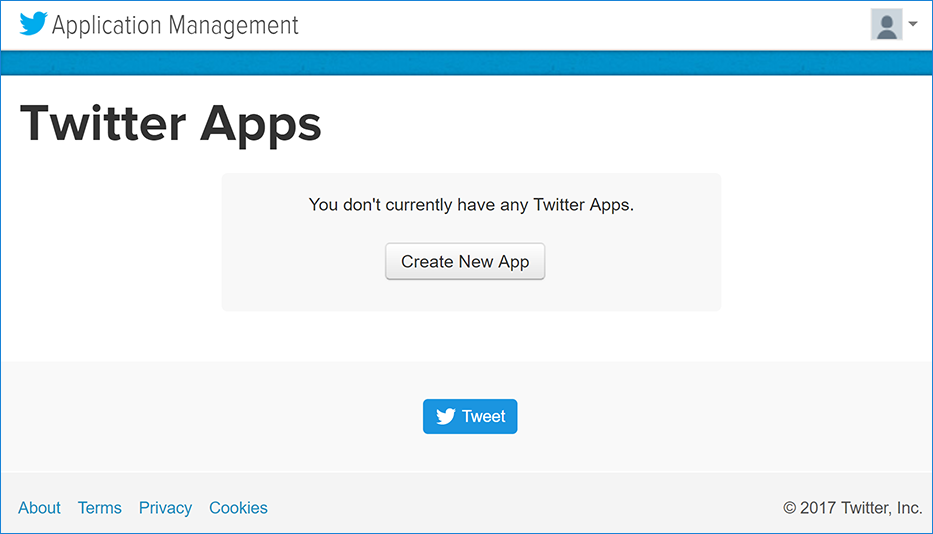
Go to Apps Twitter and select the Create New App button (you may need to Log in first):
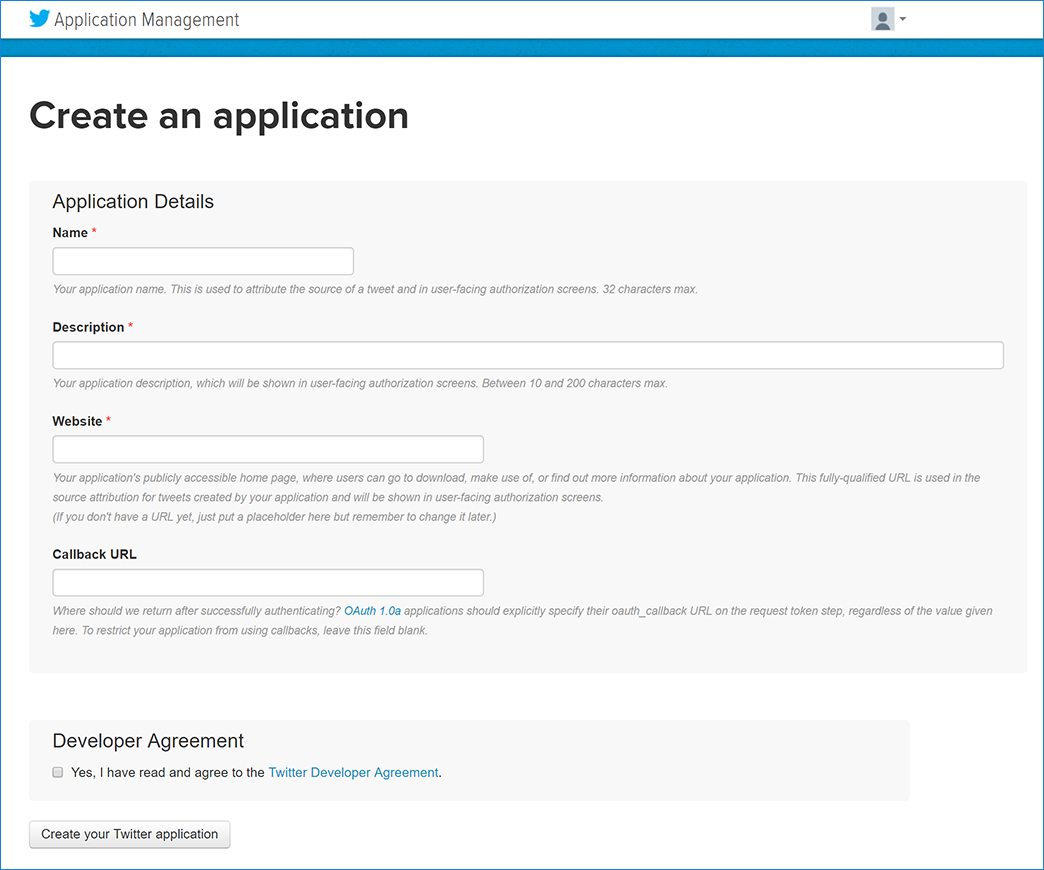
In the Create an application screen, fill the forms with the required information. The Callback URL is available in the Twitter panel of the Banco Internacional EC ID External Provider's page. Then, select Create your Twitter application button:
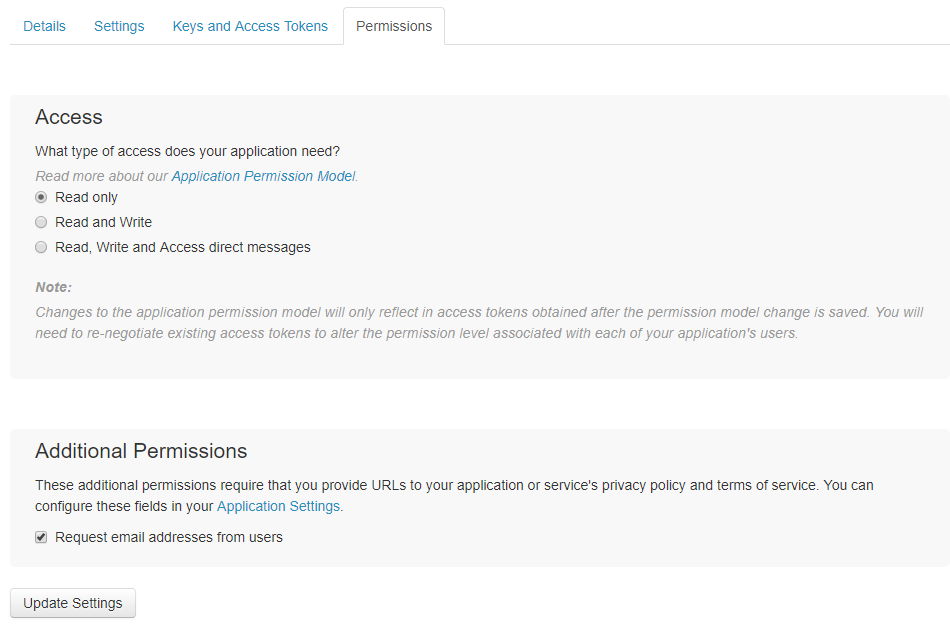
Now, select the Permissions tab and configure it as show below. Make sure the Request email addresses from users checkbox is checked:
Go to the Keys and Access Tokens tab, where your twitter app information will be displayed.
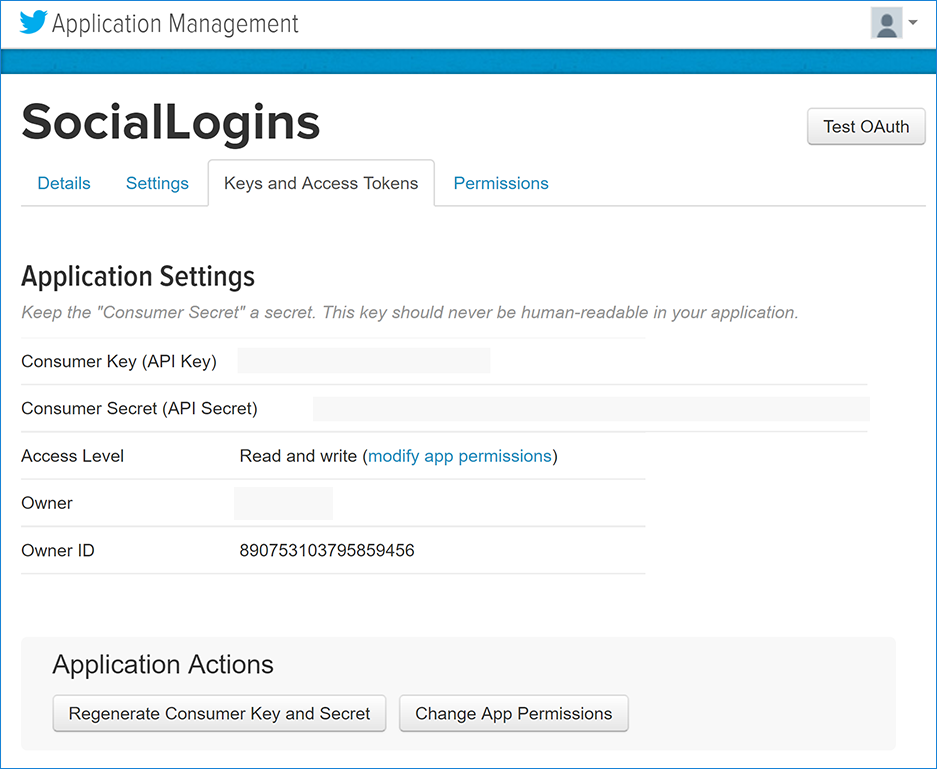
With the information available in the screen above, fill the Twitter panel available in your Banco Internacional EC ID's subscription External Providers tab:
Finally, select the Save button and you're all set with Twitter.